My kitchen was really looking rough. You know how it is, a few bumps and bruises, dated colors, cabinetry looking worn, hardware hanging off or missing altogether. I'd been thinking about doing something for awhile.
The folks at Lowe's have been challenging me all summer with different projects including a room makeover, a curb appeal project, a backyard project, and now this kitchen project. Of all of them, the kitchen was the one I faced with the most trepidation, but it turned out to be fairly straightforward and simple.
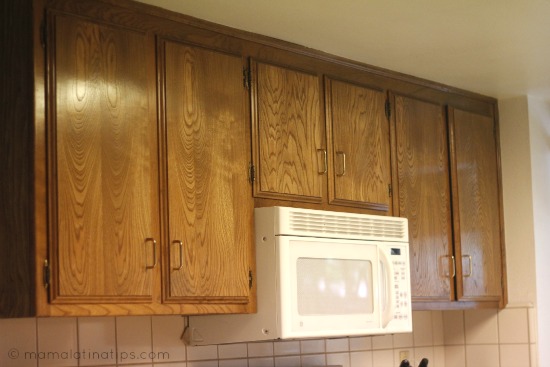
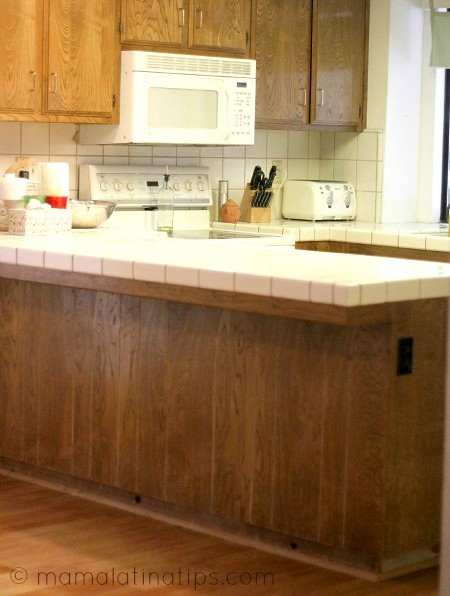
It took us some time to decide exactly what to do, but in the end we thought rehabilitating our cabinets would have the most impact, and really it should have been the obvious choice from the beginning. We just weren't sure if we were up to it, but it turned out fine. Here is the before picture:
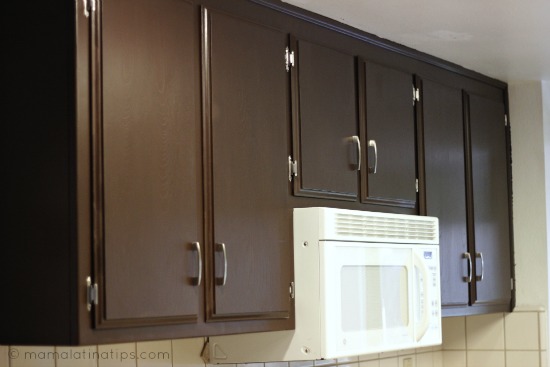
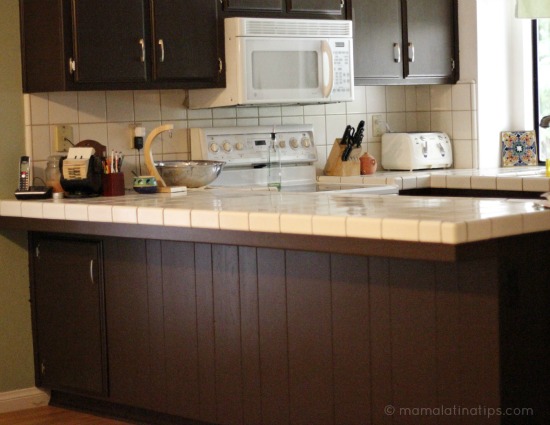
And here are the new improved cabinets. The funny thing is I think the tile looks better with the new color than it ever did with the old. Go figure!
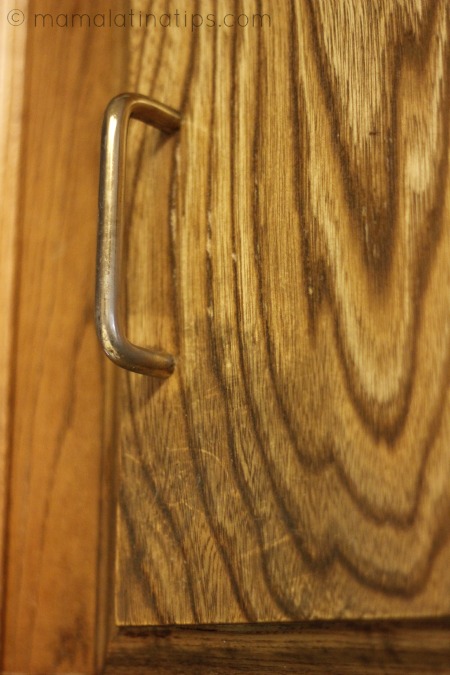
Here is a close up of the old, brassy-colored hardware. You can see signs of wear both on the handle and the door…
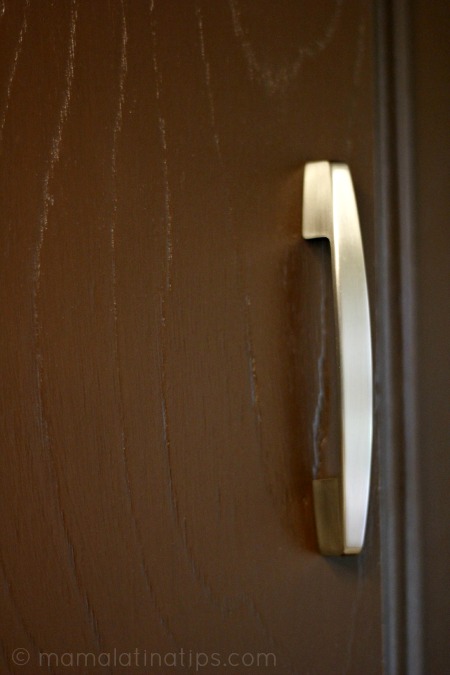
And the new
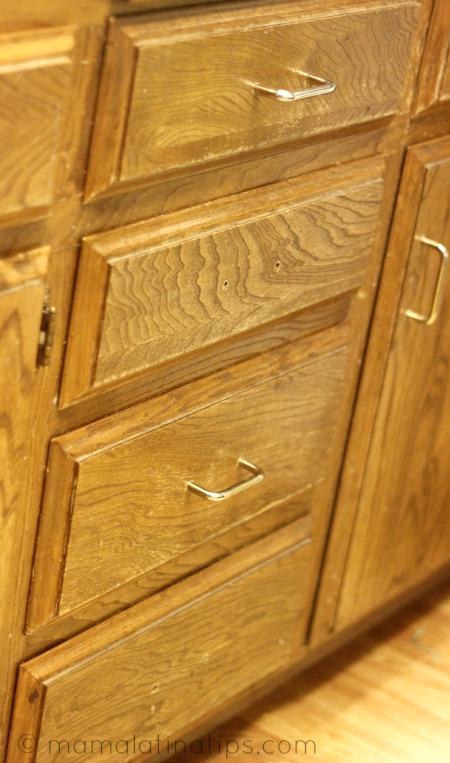
The old drawers with lots of chips and scratches, half with missing handles….
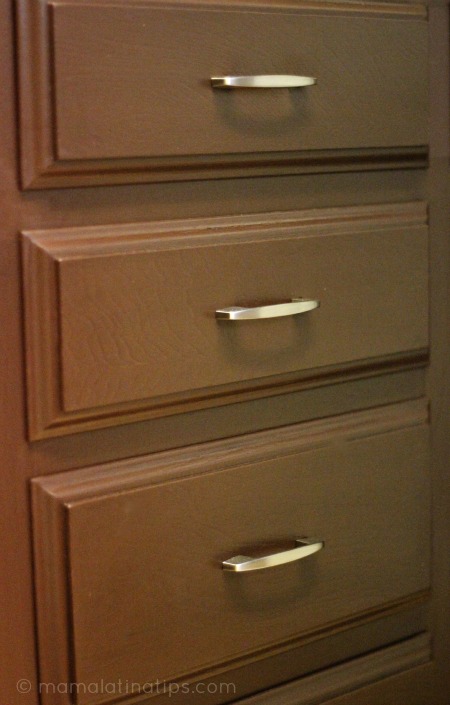
And the new improved drawers, (the color is really darker than this picture suggests)
Here is another before view including the center island….
And the after view.
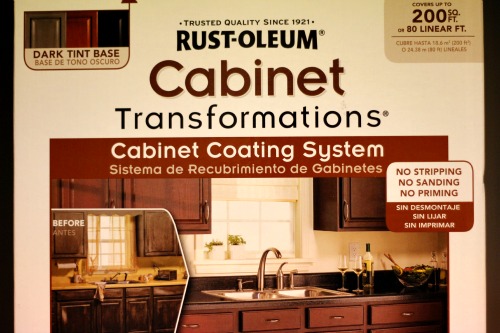
This is the system we used to transform our cabinets. It was really simple to use with four easy steps. Best of all it doesn't require any sanding, stripping or priming.
Here was our shopping list:
- 1 Rust-oleum Cabinet Transformations Cabinet Coating System (Dark Kit) 200 sq ft Box
- 48 Hinges
- 33 Handles
- Plastic Drop Cloth
- 4 Synthetic 2″ Paint Brushes
- Painter's Tape
- Latex Gloves (12 pack)
In addition, we already had lint free rags, protective glasses, paint can opener, and disposable paint containers.
Here are a few things we learned that I wanted to pass on to you. If you plan to use the same product, which I think was very easy to use, be sure to get the right kit. First, there is a light kit and a dark kit, so make sure to get the right one. Second, get an idea of the square footage of the cabinet surfaces you will have to cover before heading to the store. We had the choice of a 100 square foot box and a 200 square foot box. And the Lowe's paint department will add the correct tint for the color you choose to the bond coat that comes with the system, so make sure you stop by the paint department and have it mixed before leaving the store. Most of all, and this is very important, watch the CD that comes in the box before doing anything else.
I want to give a shout out to all the employees at our local Lowe's store who helped us and who mentioned all these bits of advice as we were making our choices. They were all both very helpful and exactly correct.
One last piece of advice, if you can get the grandparents to watch the kids on the weekend you want to do your project, it would be great! (fingerprints!) Ok, now go for it!

I want to invite you to sign up for the Lowe’s Creative Ideas Magazine, it’s free! Also, check out Lowe’s at Pinterest, a great resource for ideas and pics to get you started on your own projects at home, and don’t miss the Lowe’s Creative Ideas website where you can find all kinds of great ideas.
- Creamy Coffee Flan Recipe - May 14, 2024
- Cantaloupe Agua Fresca Recipe - April 30, 2024
- Pineapple Agua Fresca Recipe (Agua de Piña) - April 27, 2024
