Creating jewelry is one of my favorite pastimes. I love making special gifts for family, friends and for myself, too! And Mother's Day is the perfect occasion for taking all my materials out of the closet and spending some time designing.
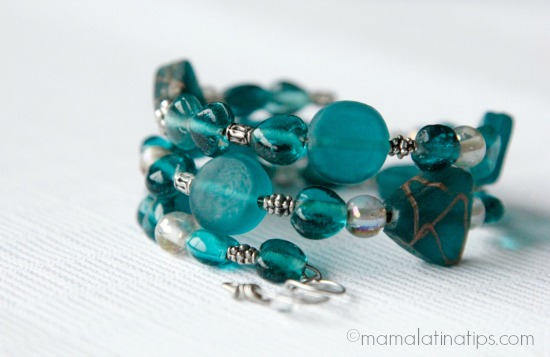
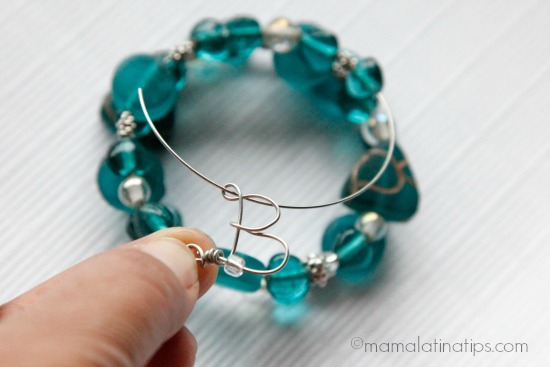
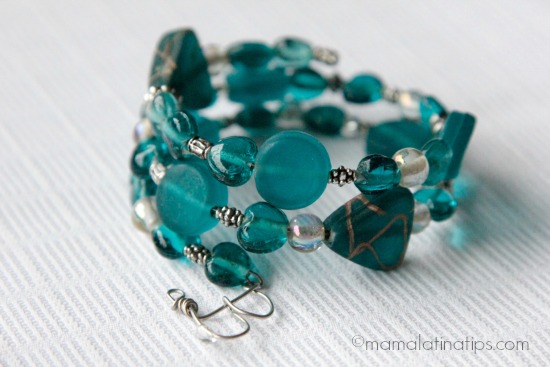
I created this personalized memory bracelet for a dear friend. I wanted to make it unique so I added the first letter of her son's name. I love the result and I know she will too.
Creating jewelry is not as hard as it might seem, and materials are easy to find at very affordable prices. I usually find all I need at my local Michael's store, plus every time I go to Mexico I check out the stores for special beads or pendants.
Making a memory bracelet is one of the easiest projects you can do. The wire comes already curled and you just need to add the beads you like and close up the ends, that's it!
Personalized Memory Bracelet
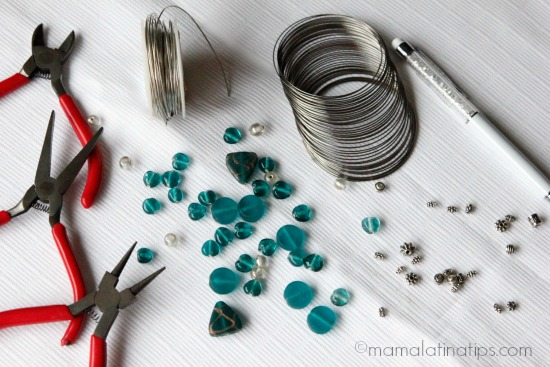
Materials:
- Memory Wire
- Beads of your choice
- Silver connectors
- Jewelry wire gauge 20
- Wire cutters
- Round nose pliers
- Flat nose pliers
- Pen
- Paper
Look for a peaceful space with good lighting and a flat surface.
Decide how many loops you would like your bracelet to have and cut the wire.
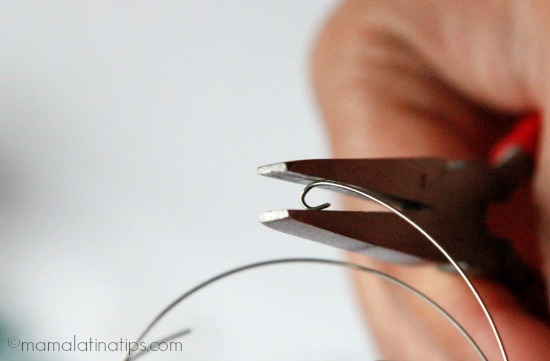
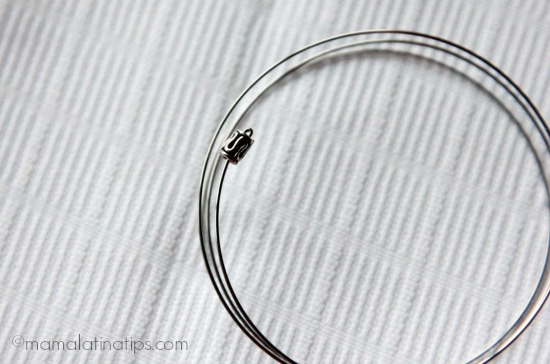
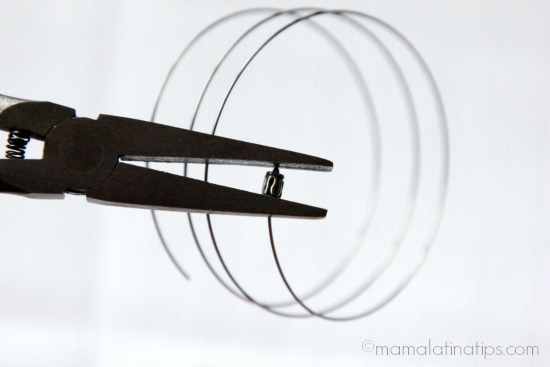
Take one end of the wire and with the round nose pliers curl it. Then, using the flat nose pliers, squeeze the wire until it is mostly folded.
Take one of the silver connectors and add it to the wire at the other end, push it all the way to the opposite end and insert the folded wire inside the connector's hole, then using the flat nose pliers push it until it covers the folded wire end completely. Make sure the connector is tight as this is your stopper.
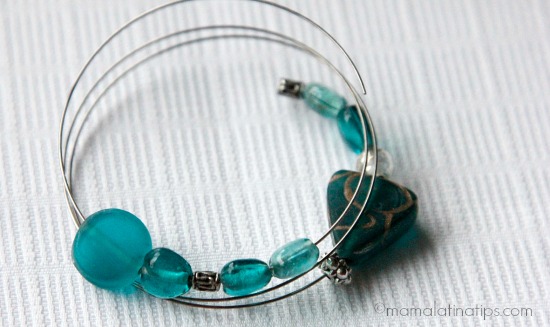
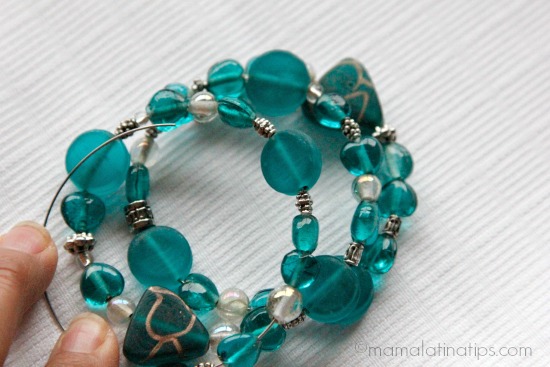
Add beads. I like eclectic memory bracelets so I don't have a specific order, I just add beads and connectors in different shapes and colors.
When your bracelet has all the beads, make the letter.
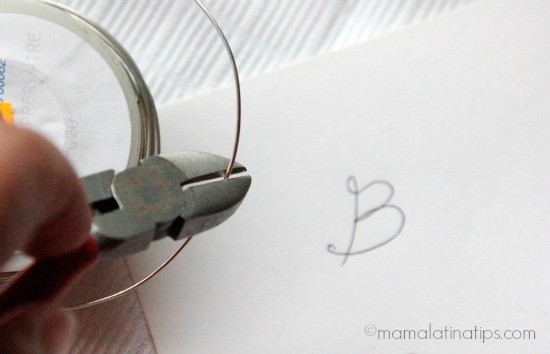
Take pen and paper and trace the letter of your choice in the size of your choice. Cut the jewelry wire in the size needed.
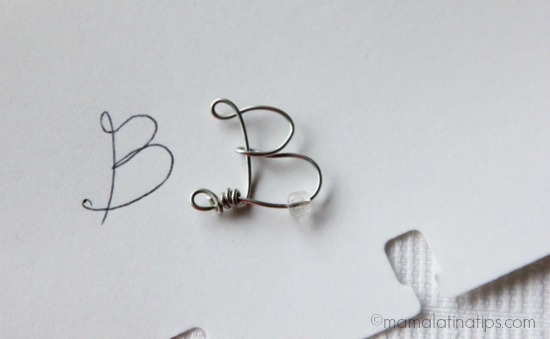
Following the lines of the letter, carefully work the wire with your fingers. Make sure you make a loop at the top to attach to the memory bracelet.
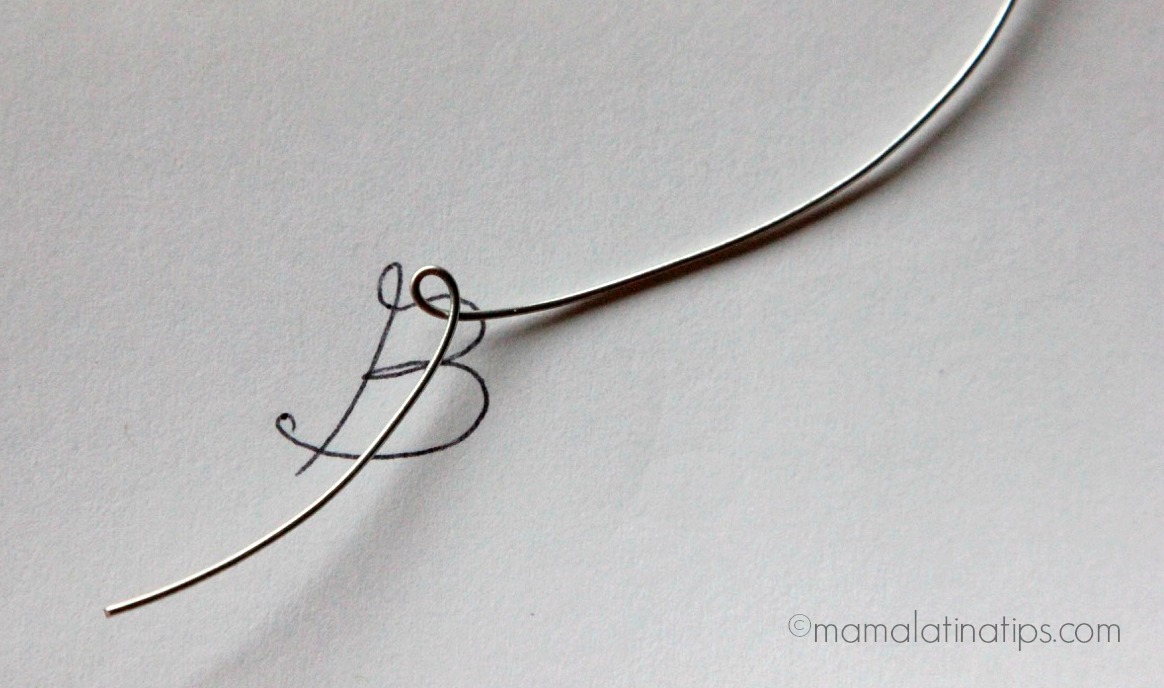
I added a small bead in the bottom of the “B” just for fun. When the letter is done, wrap the wire around itself as shown in the picture.
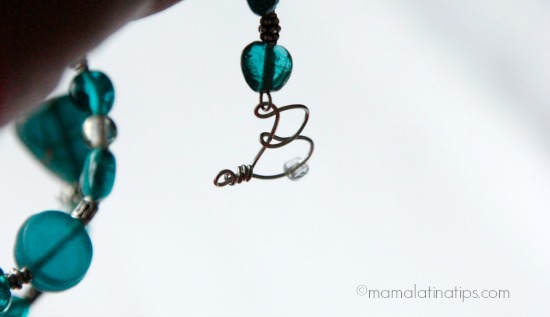
Attach the letter to the bracelet, cut the excess wire and with the round nose pliers form a loop with the wire end. Close it with the help of the flat nose pliers, it will look like this.
That's it! Easy, don't you think?
Have fun!
- Creamy Coffee Flan Recipe - May 14, 2024
- Cantaloupe Agua Fresca Recipe - April 30, 2024
- Pineapple Agua Fresca Recipe (Agua de Piña) - April 27, 2024
